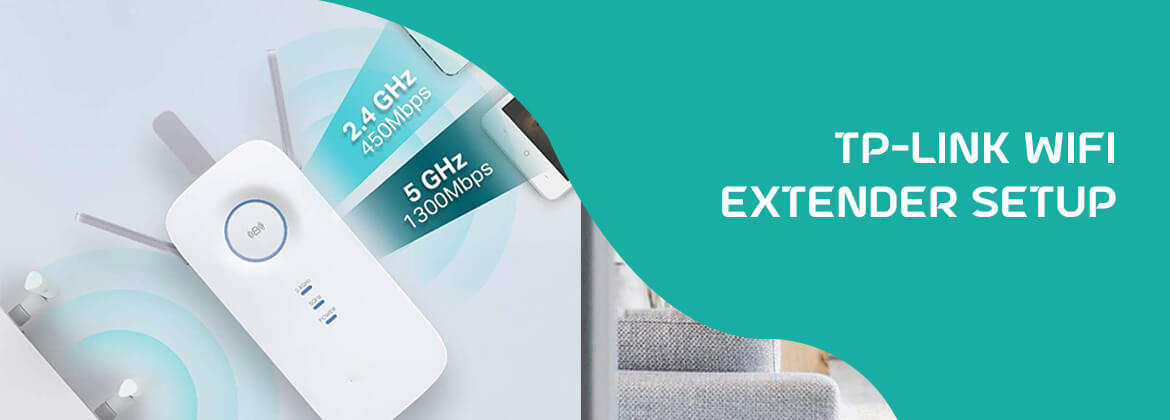
TP-Link wifi extender is a very popular device. It is very helpful in creating a home or office network in large spaces. It helps boost or extend your wifi signal beyond the limits of the router to all parts of your property. In this post, we will share the various methods and steps to help you with your TP Link Wifi Extender Setup.
Steps for TP Link Wifi Extender Setup
TP-Link has a strong presence worldwide, with offices and distribution networks in over 170 countries. Their products are widely used by individuals, small businesses, and large enterprises to create & manage their networks efficiently. When you get a new TP-Link wifi extender, you need to set it up correctly before you can use it.
Here are the steps to set up the TP-Link wifi extender.
Location: Select the best spot for your extender; that is where it will get a strong Wi-Fi signal from your router and provide sufficient coverage to the intended region.
Turn on the power: Plug the extender into an electrical outlet near your router. Then wait for the power indicator to become solid.
Connectivity: On either your PC or your mobile phone, open the Wi-Fi settings and then establish a connection to your default network (SSID) that the extender uses. It typically begins with "TP-Link_Extender."
Configuration opens a web browser (e.g., Chrome, Firefox, Safari) and enters "tplinkrepeater.net" in the address bar. Alternatively, you can choose your default IP address. It is usually "192.168.0.1" or "192.168.1.1." Press Enter.
Login Use the standard username and password to sign into the extender's online management interface. The default credentials are typically "admin" for username and password. However, consult the manual of the extender or documentation to confirm.
Quick Setup Once you've logged into your account, follow the screen instructions to complete a fast set-up. It typically involves sifting through the Wi-Fi networks available and then selecting which one you would like to connect to. Enter the password for the chosen network.
Configure settings to suit your needs: Following the simple installation, you can modify advanced settings. This could be done by changing your extended name of the network (SSID) or creating a new password, altering security settings, or configuring additional options.
Apply changes: save the setting, and then wait for the extender to restart. This could take a few minutes. After it restarts, your TP-Link Wi-Fi extender will be installed and ready for use.
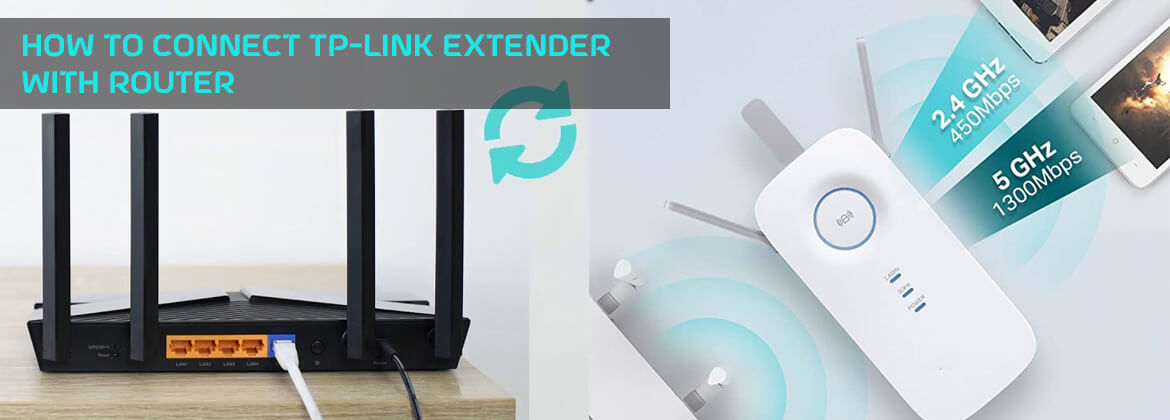
How to Connect TP Link Extender with Router
Next, you will learn how to set up the wifi extender of TP-Link with a router. There are two ways that it can be done. One is manually connecting the extender with the router using an ethernet cable. The other is by using the WPS button. Below are the steps involved in both these methods.
Connecting Using Ethernet
Power on the TP-Link wireless extender.
Use an ethernet wire to connect it to your computer.
Open any web browser, and in its address bar, enter the IP 192.168.0.254 and press enter.
Select the Quick Setup option and then click on Next.
Choose your geographical region and click Next.
Now, the TP-Link extender will search for wireless networks. This process usually takes a few minutes.
Then, once a list of available networks appears on your screen, click on your network name to select it.
When prompted, enter the wireless network’s password.
If you want to create a single or larger network, you can click on Copy from the main Router option. But, if you're going to make a different network, select the Customize option. Then click on Next.
Finally, a screen will come up that will let you review all the network settings. If they are all accurate, you can click on Finish.
The TP-Link extender will reboot once, and then it can connect to the internet.
Connecting Using the WPS Button
Turn on your device
Then, press the power button on your router to get it in active mode.
Long-press the WPS button on the router.
Then, immediately press the Wifi button on the extender. Check to see if the LED light on the extender is glowing.
In case the light is not on, it means that the wireless signal is not on.
If the wireless signal can be seen, the connection has been made.
Now your TP-Link extender is set up using the WPS method. You can place it in the desired location in your home and start using it.
Conclusion
We hope that now that you have read this post, you will know how the TP Link wifi extender setup works and what the various methods and steps involved in it are. If you have tried all these steps but can still not configure it on your own, you should get the help of networking professionals.

Leave A Comment