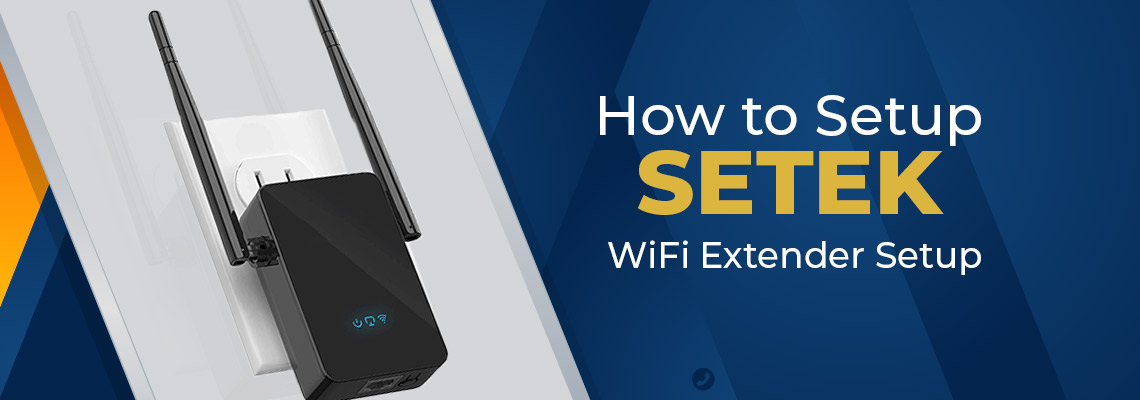
Steps to perform the Setek wifi extender Set up: Easy Installation Guide
Are you having trouble enhancing your internet signal? Do you need a device to expand the existing WiFi network in areas with weak coverage? Fortunately, you can easily achieve this with the assistance of a Setek WiFi extender setup. If you’re unsure about the steps involved in setting up a Setek Wireless extender, there’s no need to worry. Here, you’ll find simple instructions for the Setek WiFi range extender setup.
How to configure the Setek Wi-Fi Extender using the WPS method?
The Setek WiFi extender setup is a high-performance device designed to deliver an ultra-fast internet connection at your home or workplace. This signal booster effectively strengthens weak signals and extends the range of your existing WiFi network, even in areas with poor coverage. Setting it up is as simple as pressing and holding the WPS button on the device to configure the router and amplify the WiFi signals. With four high-speed antennas, it can provide a speedy 300mbps internet connection. Additionally, this extender allows for convenient connectivity of devices like Firestick, gaming consoles, and smart TVs through an Ethernet cable.
To set up your Setek Wi-Fi Extender using the WPS method, follow these steps:
1. Power on the Extender:
Connect the Extender to a functional wall socket near your router. Wait a few seconds until the power indicator light illuminates.
2. Activate the WPS Buttons:
Find the WPS button on your router and press it, holding it down for 1-2 seconds. Afterward, locate the WPS button on your Setek Wi-Fi Extender and press it for a few seconds before releasing it.
3. Establish a Connection Between the Extender and Your Router:
Once you have pressed the WPS buttons on both devices, allow approximately 30 seconds for the extender to restart automatically. If the indicator light on the extender turns off and then illuminates again, it indicates a successful connection with your router.
4. Optimize the Position of the Extender:
With the setup now finished, it’s time to find the best spot for your extender. Ideally, position it midway between your router and the area with a weak Wi-Fi signal. Keep in mind that the chosen location should fall within the range of your Wi-Fi network.
In case you encounter difficulties during the Setek Wi-Fi Extender setup, make sure to carefully follow the steps once more. If the Setek wifi extender is not working, attempt a reset of both the extender and your router before attempting the setup process again.
Steps to set up the Setek wifi extender with Web Browser
If you encounter difficulties while connecting your extender using the WPS method, an alternate approach is available. This method allows you to utilize either your smartphone or computer to configure your Setek Wi-Fi extender.
1. Activate the Extender
Insert the extender into a wall socket located in close proximity to your wireless router. Wait for the power indicator light to illuminate, indicating that the device is powered on.
2. Connect to the Extender’s Wi-Fi Network
Using your smartphone or computer, search for and connect to the Extender’s Wi-Fi network. You can find this network listed among the available wireless networks. Look for the network name “SETEK” to establish the connection.
3. Sign in the Management Page:
Upon connecting the extender, the management interface should automatically appear. However, if it doesn’t open automatically, launch a web browser on your phone or laptop. In the address bar, enter “192.168.10.1”. You can use popular browsers such as Google Chrome or Mozilla Firefox.
4. Provide the Password:
The subsequent page will prompt you to enter a password to log in. Input the default password (admin) and click on the Login button. The interface will then scan for available wireless networks, presenting you with a list to choose from.
5. Choose the Wi-Fi Network to Extend:
Select the desired Wi-Fi network from the available list that you want to extend. Enter the password for your existing Wi-Fi network into the designated password field. Ensure that the password entered is the correct password for your existing network. After this, click on connect button.
6. Finalizing the Setup:
After completing the setup steps, the Setek extender will undergo an automatic reboot. Once it is back online, connect to the extender’s SSID (network name) to finalize the setup process.
7. Optimize the Position of the Extender:
Move the extender to an optimal position, ideally situated between your router and the area experiencing weak Wi-Fi signals. Ensure that the chosen location falls within the coverage range of your existing Wi-Fi router network. This will help enhance the extender’s performance and extend the Wi-Fi signal effectively.
How to Reset the Setek Wifi Extender?
Want to reset your setek wifi extender, you can follow the below steps:
Firstly, look for the reset button on your Setek Wi-Fi range extender and press it down continuously for ten seconds to initiate the reset process.
Next, keep an eye on the indicator lights and wait for the red LED light to illuminate, indicating that the reset process has started.
After that, you need to wait for the next 30 seconds so that your wifi extender gets reset.
In the next step, enter the default gateway address into the address column and double-check the accuracy of your IP address entry, ensuring that the standard IP address is 192.168.1.50.
If you are resetting it through your computer, access the management tab located on the right side of the screen.
Within the management interface, locate the "restore factory settings" button and click on it to proceed with the reset procedure.
A notification box will appear on your screen, prompting you to confirm the action. To proceed with the factory reset, simply touch or click the OK button.
Conclusion :
By following the above steps, you can easily set up your Setek wifi extender. Setek offers a wide range of features and functionalities that can greatly assist you in achieving your desired outcomes and obtaining high-quality products.